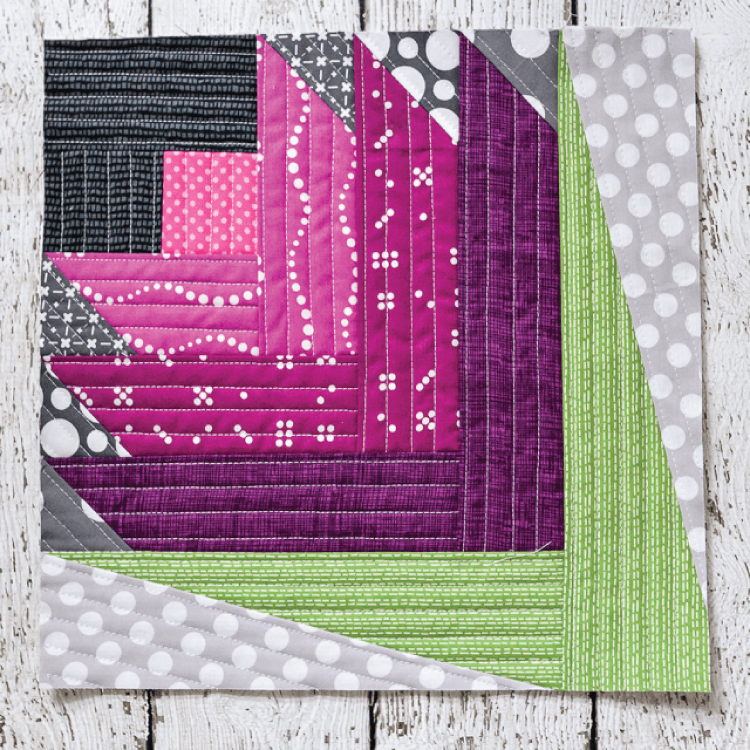
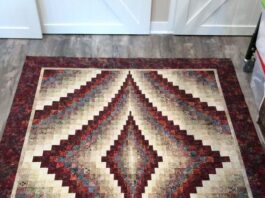
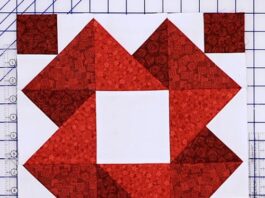
If you’re passionate about quilting and have been looking for a fresh, creative project, this Scottish Thistle QAYG Block tutorial is exactly what you need. Combining the beauty of the iconic Scottish thistle with the versatility of quilt-as-you-go (QAYG) techniques, this project offers both beginners and seasoned quilters an exciting opportunity to explore new skills. Throughout this article, we will guide you step by step, ensuring that you end up with a stunning block that can be a standout feature in any quilt.
The Scottish thistle has long been a symbol of Scotland, representing resilience and strength. Incorporating this motif into your quilting project not only adds a touch of cultural significance but also allows for a vibrant design that can enhance the overall aesthetic of your quilt. Whether you’re looking to create a single block or multiple ones for a larger project, this Scottish Thistle QAYG Block tutorial will walk you through the entire process.
The QAYG technique is particularly advantageous for quilters who enjoy working on small, manageable sections of a quilt before assembling them into a larger piece. By the end of this tutorial, you’ll have mastered the Scottish Thistle QAYG Block and be equipped with the knowledge to experiment with other designs using the same technique. Now, let’s dive into the steps to create your own beautiful Scottish thistle block!

1. Materials and Tools Required
Before you begin, it’s essential to gather all the materials and tools you’ll need for your Scottish Thistle QAYG Block. This preparation ensures that the process goes smoothly and that you won’t need to pause to look for supplies. Below is a list of everything you’ll need:
- Fabric Selection: Choose fabrics that complement the Scottish thistle design. You will need different shades of green for the leaves and stem, and a vibrant purple or pink for the thistle bloom. For the background, a neutral or contrasting fabric works well.
- Batting: Use a high-quality batting that is suitable for QAYG. This will form the middle layer of your block, providing structure and warmth.
- Thread: Select threads that match your fabric choices, or opt for contrasting threads if you want the stitching to be a design feature. Ensure that the thread quality is high to avoid breakage during sewing.
- Cutting Tools: A rotary cutter, scissors, and a cutting mat are essential for accurate cutting of your fabric pieces. Precision is key in creating a well-aligned block.
- Sewing Machine: While it’s possible to sew by hand, a sewing machine with a walking foot is recommended for this project. The walking foot helps manage the layers and prevents shifting during sewing.
- Iron and Ironing Board: Pressing your fabric pieces as you go is crucial for achieving crisp lines and a professional finish.
2. Step-by-Step Construction Process
With your materials ready, it’s time to start constructing your Scottish Thistle QAYG Block. Follow these steps carefully, and you’ll be amazed at how quickly your block takes shape.
- Cut Your Fabric Pieces: Start by cutting out all the fabric pieces according to the pattern. Make sure to include seam allowances. You’ll need pieces for the thistle bloom, stem, leaves, and the background.
- Assemble the Thistle: Begin by sewing the pieces of the thistle bloom together. Start with the smallest pieces and work your way outwards. Press seams open to reduce bulk.
- Add the Stem and Leaves: Next, attach the stem and leaves to the bloom. Align the edges carefully, and use pins or fabric clips to hold them in place before sewing. Again, press the seams open.
- Prepare the Batting: Cut a piece of batting slightly larger than your block. Place it behind the assembled thistle piece. The batting will be quilted in place as you continue to build your block.
- QAYG Method: Now, start sewing the thistle block to the background fabric using the QAYG technique. Begin from the center and work your way outwards. This method not only secures the batting but also adds texture to your block.
- Trim and Square: Once all pieces are sewn together, trim the block to the desired size and square up the edges. This final step ensures your block is uniform and ready to be joined with others.
3. Tips for Perfecting Your QAYG Technique
The QAYG technique is a fantastic way to manage larger quilting projects by breaking them into smaller, more manageable sections. Here are some tips to help you perfect your QAYG skills with the Scottish Thistle Block:
- Use a Walking Foot: A walking foot is invaluable when working with multiple layers. It helps feed all layers through the machine evenly, preventing bunching and misalignment.
- Press Often: After sewing each seam, take the time to press your work. This will keep your block flat and make the final assembly easier.
- Stitch Length: Use a slightly longer stitch length when sewing through all layers. This not only secures the fabric but also adds a decorative element to your block.
- Secure Loose Threads: At the end of each seam, take a moment to secure the loose threads. This prevents unraveling and keeps your work tidy.
- Mind the Edges: When working with QAYG, it’s easy for edges to become uneven. Pay close attention as you sew, and trim any excess fabric after each step.
- Experiment with Quilting Patterns: While this tutorial focuses on a basic approach, don’t be afraid to experiment with different quilting patterns. Adding custom quilting designs can make your Scottish Thistle Block truly unique.
4. Joining Your Blocks Together
Once you’ve created several Scottish Thistle QAYG Blocks, the next step is to join them together to form a larger quilt. This section will guide you through that process.
- Decide on Layout: Before you start sewing the blocks together, lay them out to decide on the final layout. This is your chance to play with color placement and ensure the overall design is balanced.
- Sashing and Borders: Consider adding sashing (strips of fabric between the blocks) and borders to frame your quilt. Sashing can help separate busy designs and make each block stand out.
- Joining Blocks: Begin by sewing the blocks together in rows. Match seams carefully to ensure that your quilt top is aligned. Press the seams open as you go.
- Adding Sashing: If you’re using sashing, sew the strips between the blocks first before joining the rows together. This technique creates a cohesive look and gives each block its own space.
- Quilting the Top: Once all blocks are joined, it’s time to quilt the entire top. You can either continue with the QAYG method or opt for a more traditional approach, depending on your preference and the size of the quilt.
- Binding the Edges: Finally, finish your quilt by binding the edges. Choose a fabric that complements the colors of your blocks. Binding not only secures the quilt layers but also adds a polished edge to your project.
FAQ: Scottish Thistle QAYG Block
Q: What is QAYG and why is it beneficial for quilting?
A: Quilt-As-You-Go (QAYG) is a method where you quilt individual blocks before assembling them into a larger quilt. This technique is beneficial because it allows you to manage smaller sections at a time, making the quilting process more accessible and less cumbersome.
Q: How do I choose the right fabrics for the Scottish Thistle design?
A: Select fabrics that represent the natural colors of the thistle. Greens for the leaves and stem, purples or pinks for the bloom, and a neutral background. Ensure the fabrics contrast well to make the thistle design stand out.
Q: Can I hand-sew the Scottish Thistle QAYG Block?
A: Yes, while a sewing machine is recommended for its speed and efficiency, the block can also be hand-sewn. Just ensure your stitches are even and secure, especially when working with multiple layers.
Q: What size should my Scottish Thistle QAYG Block be?
A: The size can vary depending on your project. A typical block size is 12×12 inches, but you can adjust this to fit your quilt’s design.
Q: How can I make sure my blocks are perfectly square?
A: Use a ruler and rotary cutter to trim your blocks after sewing. Squaring up each block before joining them together ensures a neat, professional finish.
Q: What’s the best way to quilt the Scottish Thistle Block?
A: Follow the lines of the thistle design for a natural look, or use decorative stitching for a more artistic effect. The QAYG method allows you to experiment with different quilting patterns on each block.
Join our VIP broadcast list and gain access to exclusive patterns, all for free. As a VIP member, you’ll receive the best patterns daily, delivered directly to your device. ✨📱 It’s a unique opportunity to stay up-to-date with the latest trends and designs, curated just for you. Don’t miss out on enhancing your projects and discovering new inspirations with the best patterns every day! 🎨🔝
Conclusion
The Scottish Thistle QAYG Block tutorial provides a unique and enjoyable way to incorporate cultural motifs into your quilting projects. By following the steps outlined, you’ll create a beautiful thistle block that showcases both your quilting skills and your appreciation for Scottish heritage. Remember, practice makes perfect, so don’t hesitate to try this technique with other designs as well.
We hope this tutorial has inspired you to start your own Scottish thistle quilting project. If you have any questions or suggestions, please leave a comment below. We’d love to hear your thoughts and see your finished projects!


